Silkscreen stencils are vinyl stencils with a cut out design that have a mesh screen attached to them. These are frequently used in screen-printing, like with clothing or on paper with paint, but you can also use them on clay with underglaze.
This tutorial only goes over how to make a stencil using a cutting machine. If you do not have a cutting machine, you can explore making a stencil using photo emulsion. See additional resources at the end of this post!
What You’ll Need
Here are the basic materials that you’ll need to get started:
A cutting machine (e.g., Cricut®)
Mesh (110 count)
Iron + Ironing board
Parchment paper (a nice to have)
A design, can be a stock photo or an image you drew digitally. Start with a simple one just to keep things easy!
Links are recommendations for what to look for, but you can choose other brands or similar items if they aren’t available in your country.
Cutting out the design
Open up the design software that comes with your cutting machine. Here, I’m using Cricut® Design Studio since I have a Cricut® Joy.
Load in your design onto a blank canvas, and resize as necessary.
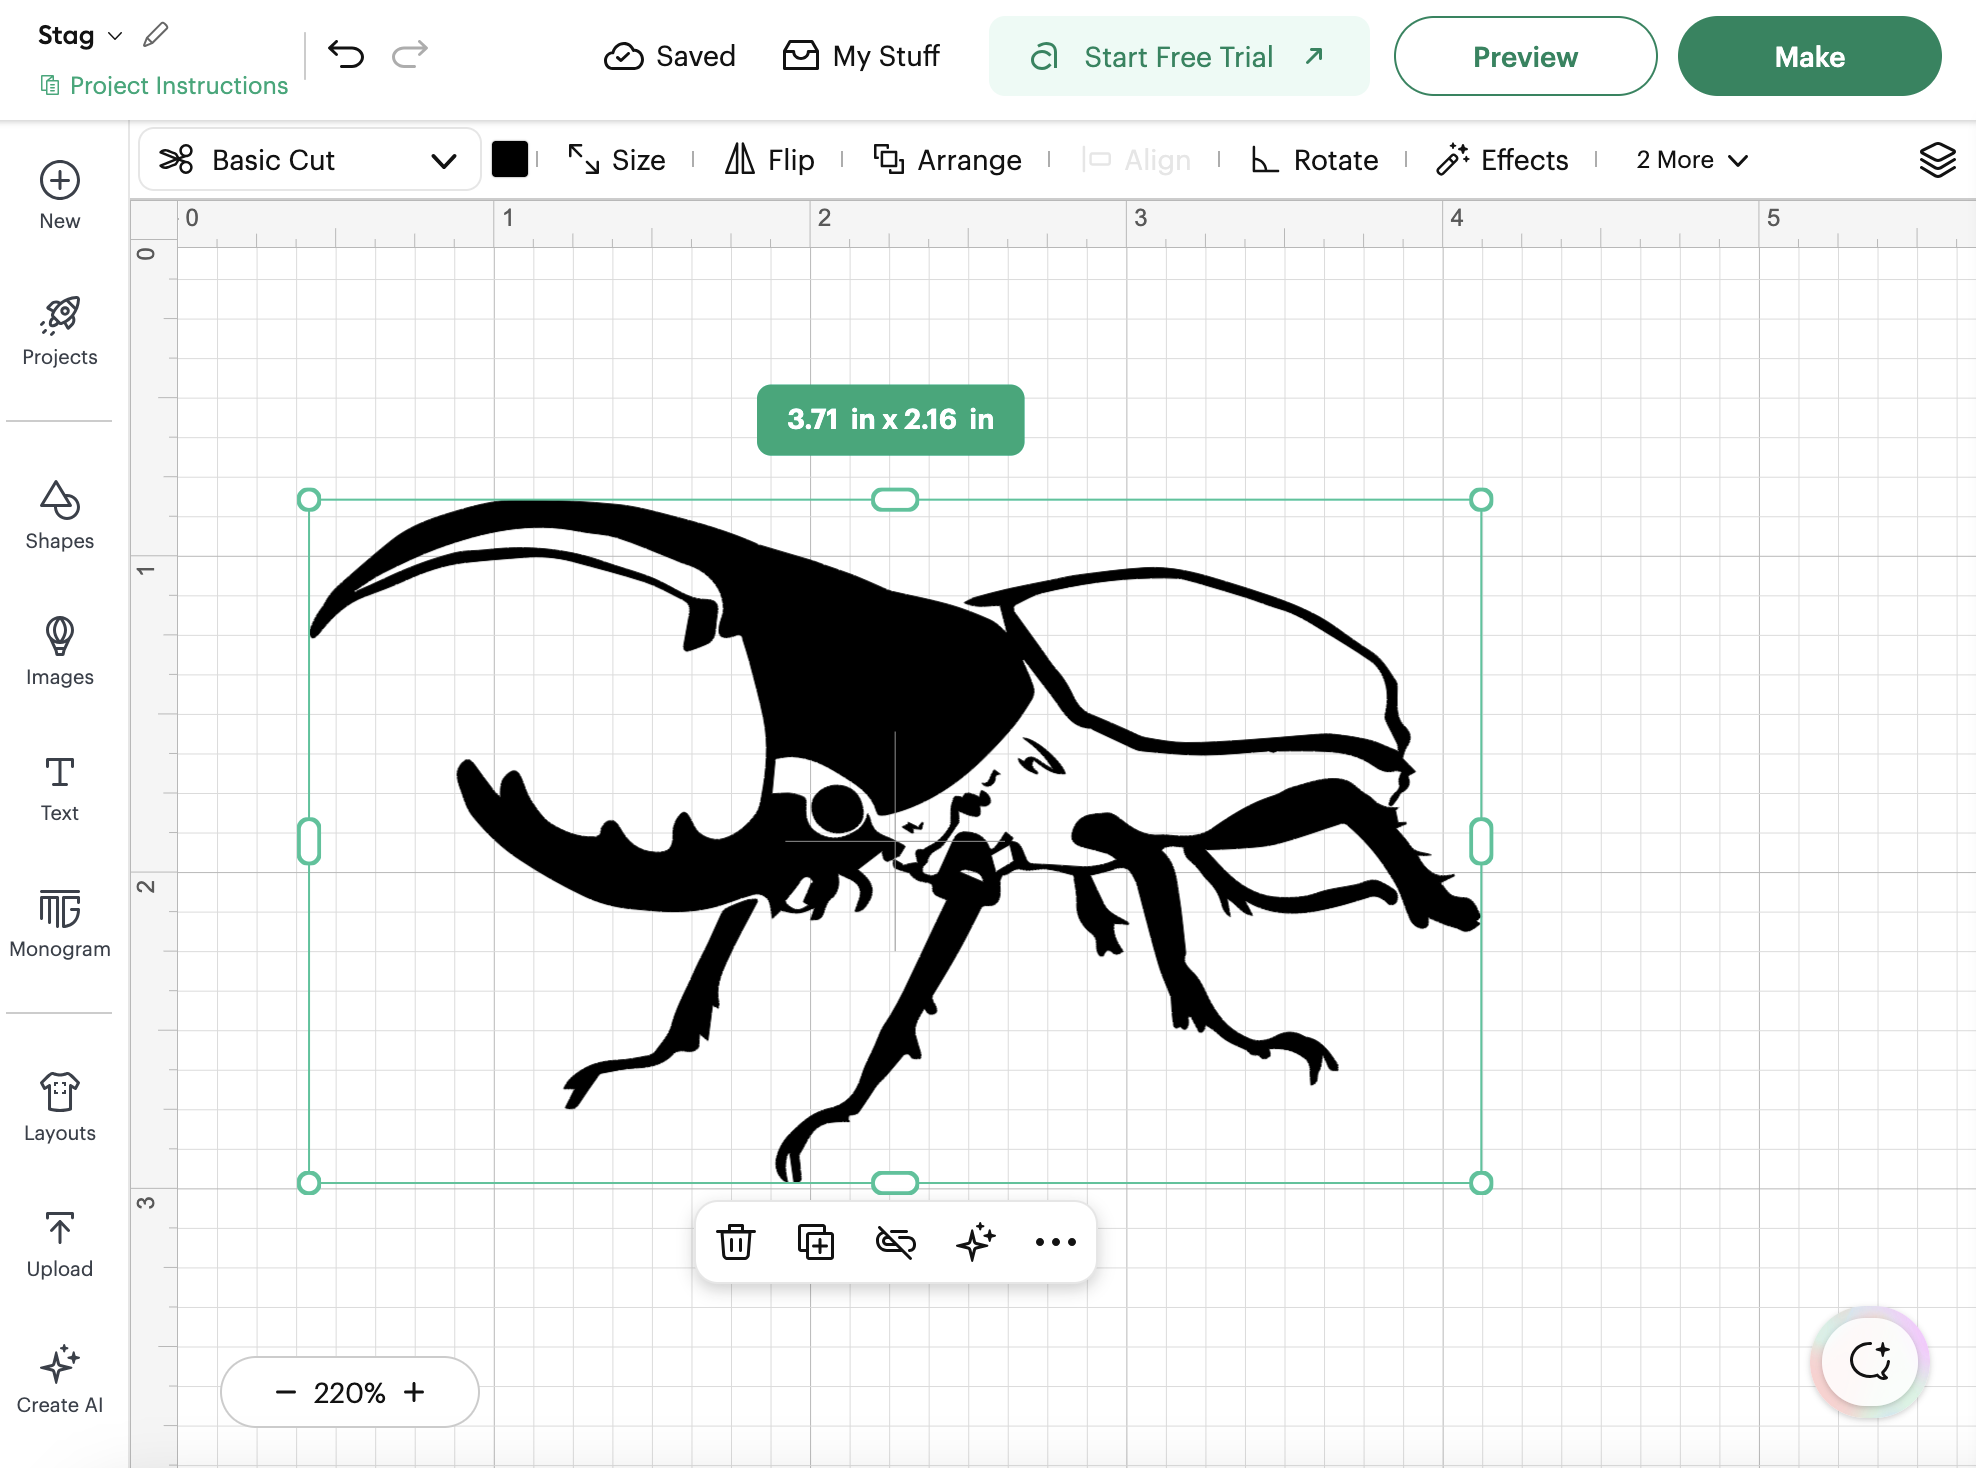
Once you’re happy with the results, you can press the “Make” button (or whatever the equivalent is in your design software).
When you get to the confirmation screen, make sure to turn “Mirror” on, and the vinyl is inserted shiny side down.
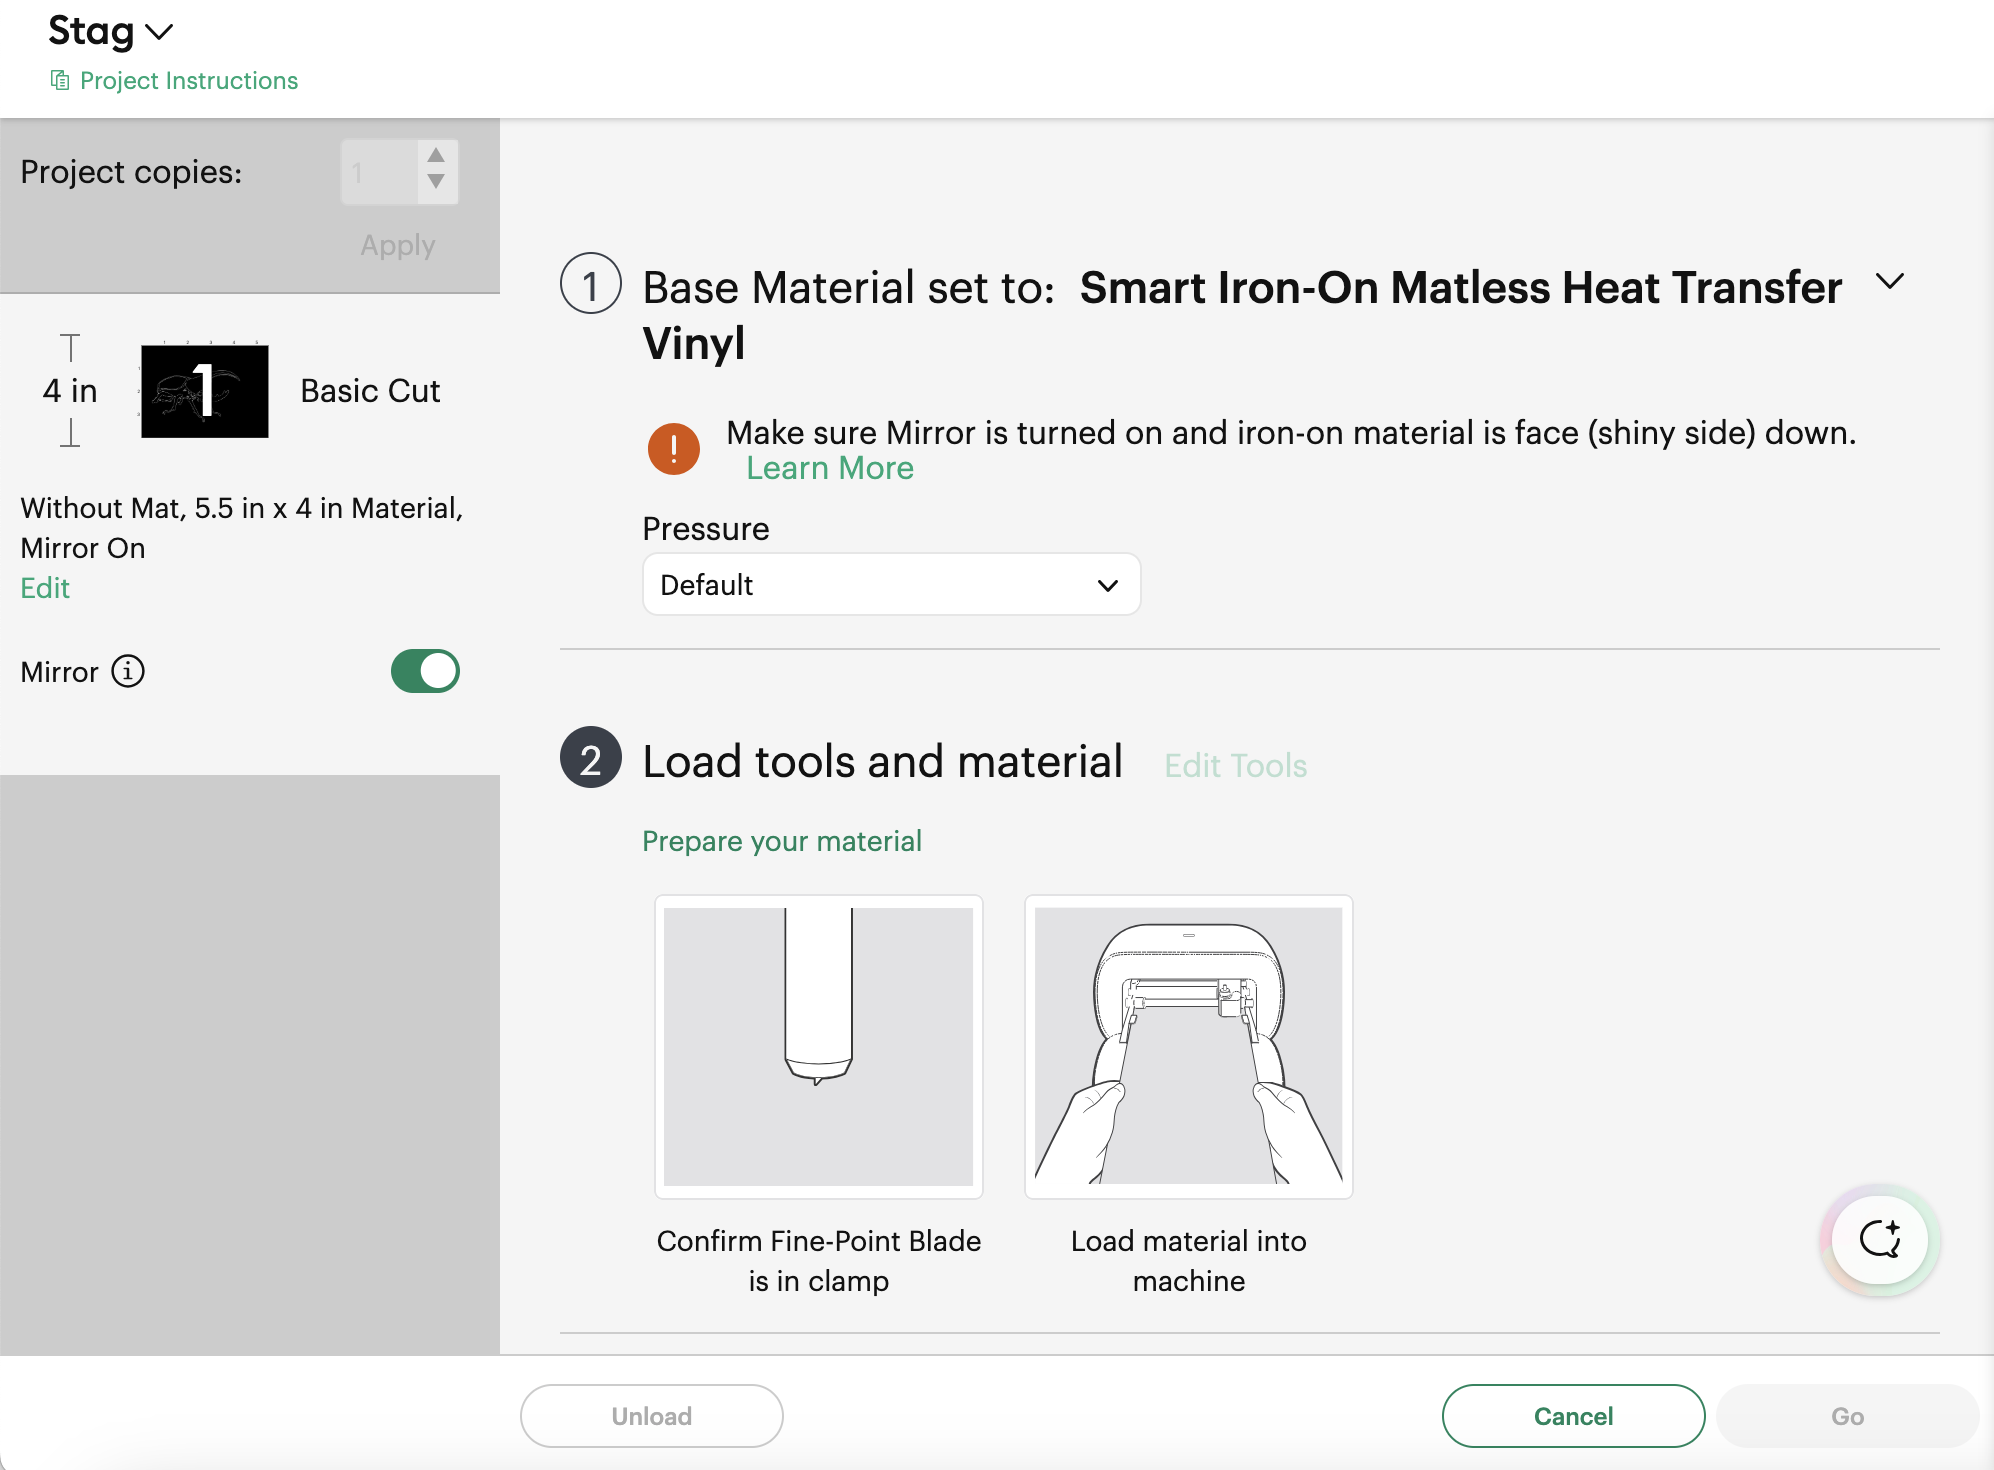
Once the vinyl is fed into the machine, press “Go”, and you’ll be one step closer to making a stencil.
I only own a Cricut®, so unfortunately I don’t know if this process is as easy for other machines, but generally speaking, the process is the same! Or at least it should be the same.
Weeding the design
And now we move on to the more tedious part of the process. Weeding.
Once your design is cut, you can take a needle tool and start peeling away the areas where the underglaze will pass through. In our beetle example, it’s all the black areas. This is where you want to be careful, because the vinyl might rip or not peel off cleanly. The more complicated the design, the more annoying the weeding.
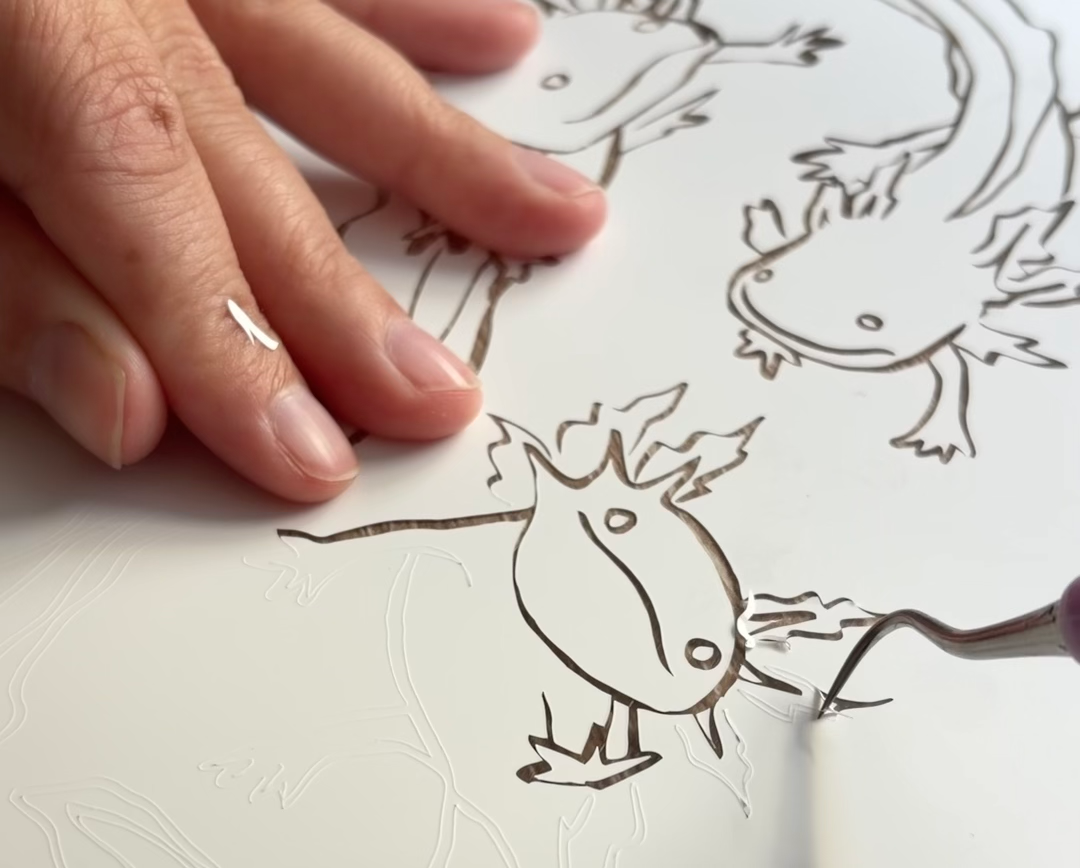
Here, I’m using a needle tool to weed out this complicated axolotl design that I drew. Notice how the small white, cut out pieces end up everywhere.
Attaching the mesh to the vinyl
Now with everything weeded, it’s time to iron the mesh onto the vinyl. Heat up your iron and make sure it’s on the lowest setting (i.e., synthetic). If the iron is too hot, it may melt the vinyl.
Place the mesh screen onto the ironing board, and then place the vinyl on top of the mesh with the shiny side up. You can also take some parchment paper and place it on top for some added protection. Now you can iron away!
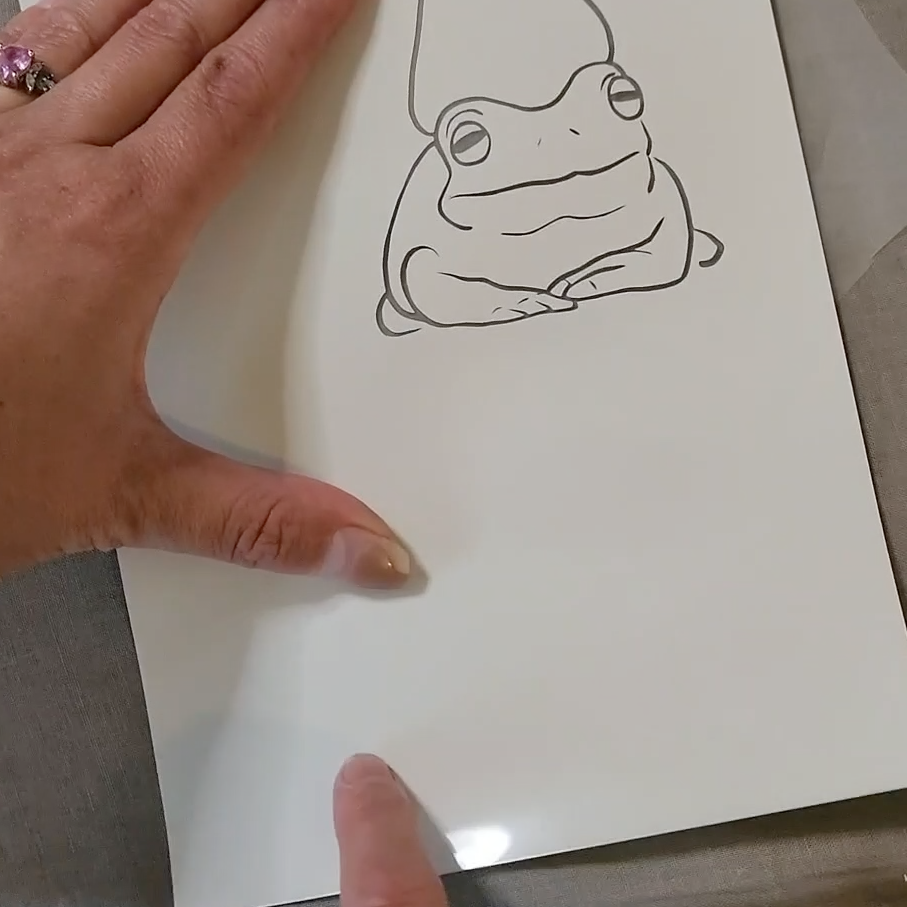
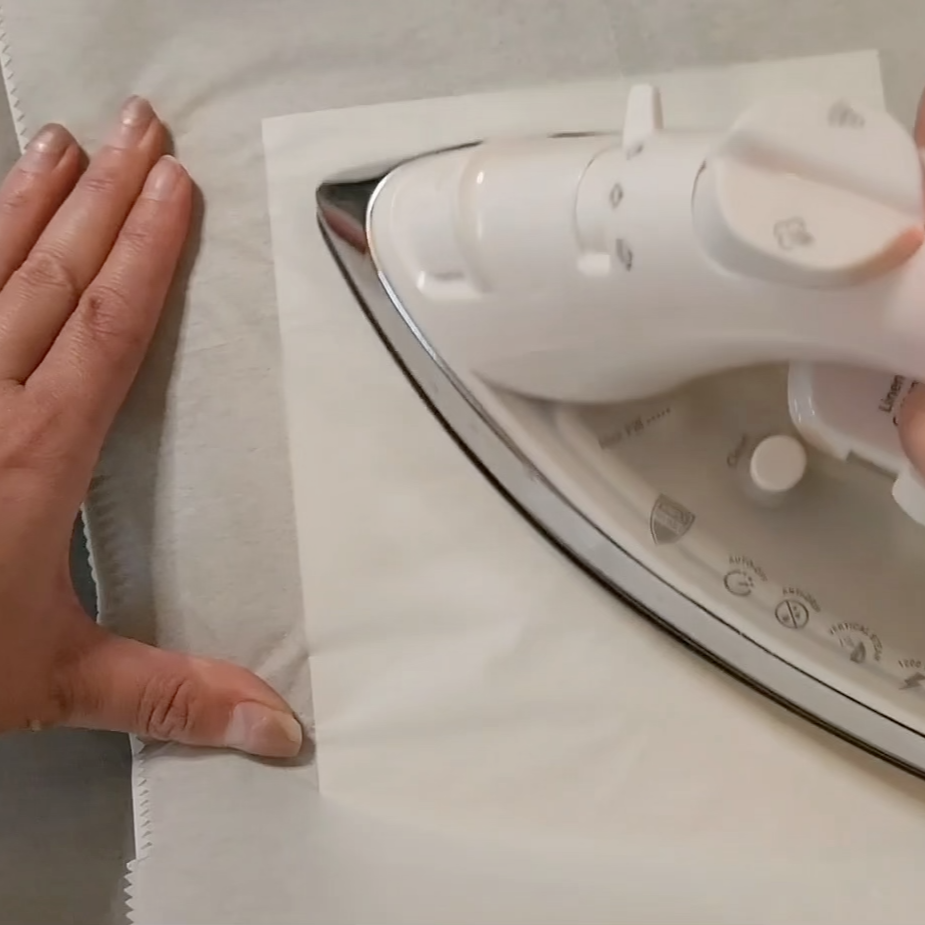
After several passes with the iron, you can now peel away the plastic sticker (“the shiny side”) from the vinyl. If you find that the plastic is not separating from the vinyl, put it back under the parchment paper and iron it again.
When the plastic is peeled off, your stencil might not lay flat. You can iron it again to make it flat again and not curled.
And that’s it! You now have your new stencil!
Next Steps
You can now use your new stencil to transfer designs onto your clay! The details on how I do this will come in a future blog post, but for now, I highly recommend either using Amaco Ceramic Ink, or regular underglaze with a pinch of silkscreen medium.
Again, the links above are just recommendations. I’ve been told you can use CMC gum powder instead of silkscreen medium, but I have never tested it.
Additional Resources
Video Tutorial
I uploaded this short form video back in 2025 on Instagram and TikTok. It’s only a minute and 30 seconds, and covers everything mentioned above.